Next step: make a plan for the big deck that will satisfy Kevin's adoration of outdoor living spaces. (I say why not think addition next?). So, what do two non-specialists do when they want to build something but have no clue how to? We bought a book, a big, big, book. Then, we read the book, examined the pictures for clues and debated the merrits of the complicated patterns complete with outdoor kitchens and fabric curtains. In the end we settled on something straight forward, mostly a rectangle, but with a 45 degree angle for the stairs.
We got to measuring the house and determined that our size would be 23 feet long, along the house side, by 12 feet deep. We then transfered our measurements to graph paper and began filling the details: posts, beams, joists, decking, stairs. Our municipality requires detailed plans for a permit so we tried to pack as much info into them as possible. Best laid plans...
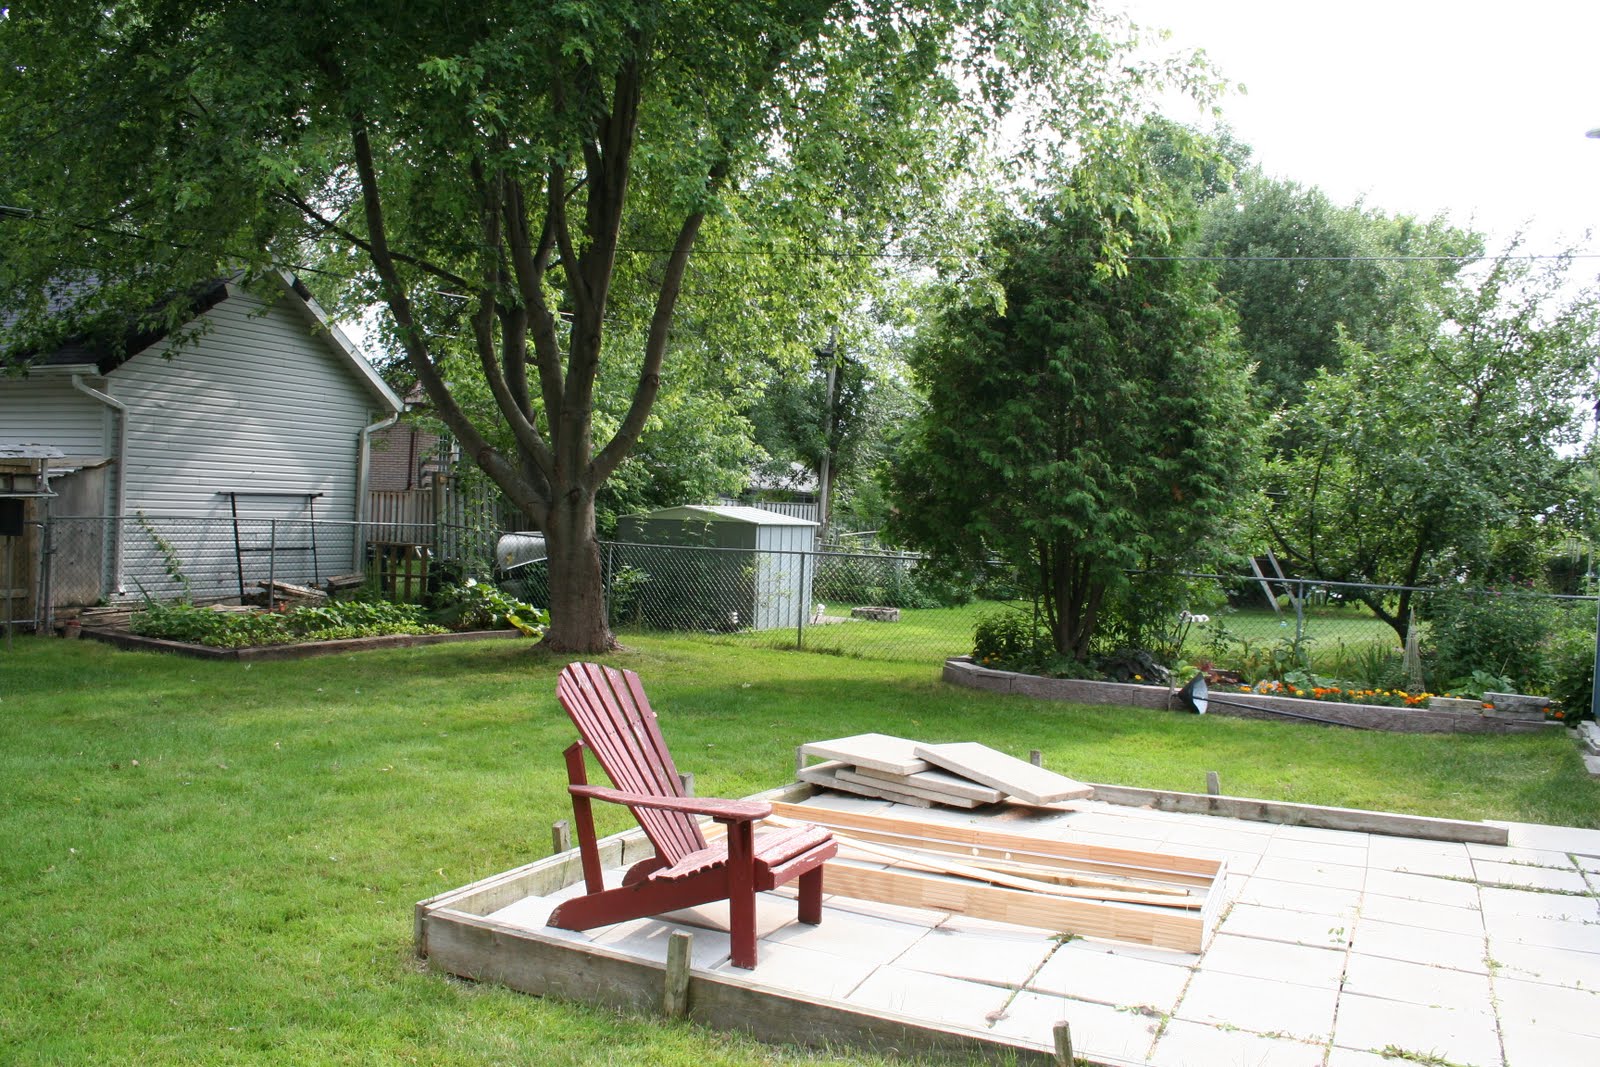
 In the meantime, as we were getting plans together, the area had to be cleared. The previous owner had installed a make-shift ground level patio at the foot of the old deck composed of 2 inch thick patio stones over about 4 inches of gravel, beneath which was plastic sheeting. We got to work clearing the patio stones (I say we, but really that was all Kevin- do you think I could lift one of those, let alone like 30? Not likely ;). Our new wheelbarrow was particularily useful for clearing the stones and gravel and we must have filled it with gravel 20 times before we were through. We piled all the gravel next to the back of the house. In hindsight this wasn't the best place to put it considering it made a raised mound that we've had to contend with during the whole process of putting in the concrete footings and posts. After clearing all the gravel we began moving the sod over piece by piece from the deck area to our freshly cleared former patio. Our sod pieces (some almost shaped like sqaures) ended up filling the lawn patch with only a few spotty exceptions.
Footnote: The immense amount of gravel shoveled away from the former patio area needed to be dumped somewhere. We had it piled against the back of our house for a winter, until the time came to finally start grading it out for the plan.
ReplyDeleteLuckily, even after being through a winter, the gravel in springtime was not too difficult to work with!